Migrating Home Assistant from Raspberry Pi3 to a Raspberry Pi4


My Home Assistant instance has been on a Raspberry Pi 3B+ for the last three years. In that time, it has been a reliable platform. I have read lots of horror stories on the various forums about failing SD Cards, but I have been using the same 64 gig card for the last three years without issue. I didn’t see any reason to upgrade when the Raspberry Pi4 came out. Then I got woken up by the security alarm, and when I tracked down the issue, I decided it was time.
Turns out at 4 am one morning, my Home Assistant install had been unable to keep up with the amount of information I was sending it. All it took was losing connection to the door sensors for a split second and a poorly conditioned automation-and boom. The security alarm had a false alarm. On the plus side, I got another test on whether we would wake up if the security alarm went off while we were asleep.
I decided that I would feed it a better SD Card. It was after all three years old. But then I decided to go all-in and upgrade the Pi as well. All indications were the Raspberry Pi4 was a noticeable upgrade. Plus, from what I determined, it was an easy swap. I was still uneasy. All of my devices are local via USB dongles for Zwave and Zigbee, and the thought of having to repair all of those devices was enough to give me pause. It turns out those dongles ended up being an issue, but not one I couldn’t get passed. However, let’s not skip ahead.
This migration will follow this rough guide:
- Getting Supplies
- Preparation
- Migration
- Finishing the Configuration
I wrote this guide around my experience. However, if you do not have any specialized hardware, you can skip the hardware section, and it should work as written.
Supplies
To do this migration, you will need two things.
Of course, you will need a Raspberry Pi4. I got a kit off of Amazon that came with a power supply, case, and the Pi itself. I grabbed the four-gigabyte version. The two-gigabyte one will work as well. The eight-gigabyte one has somethings that might cause some issues running Home Assistant, so keep that in mind.
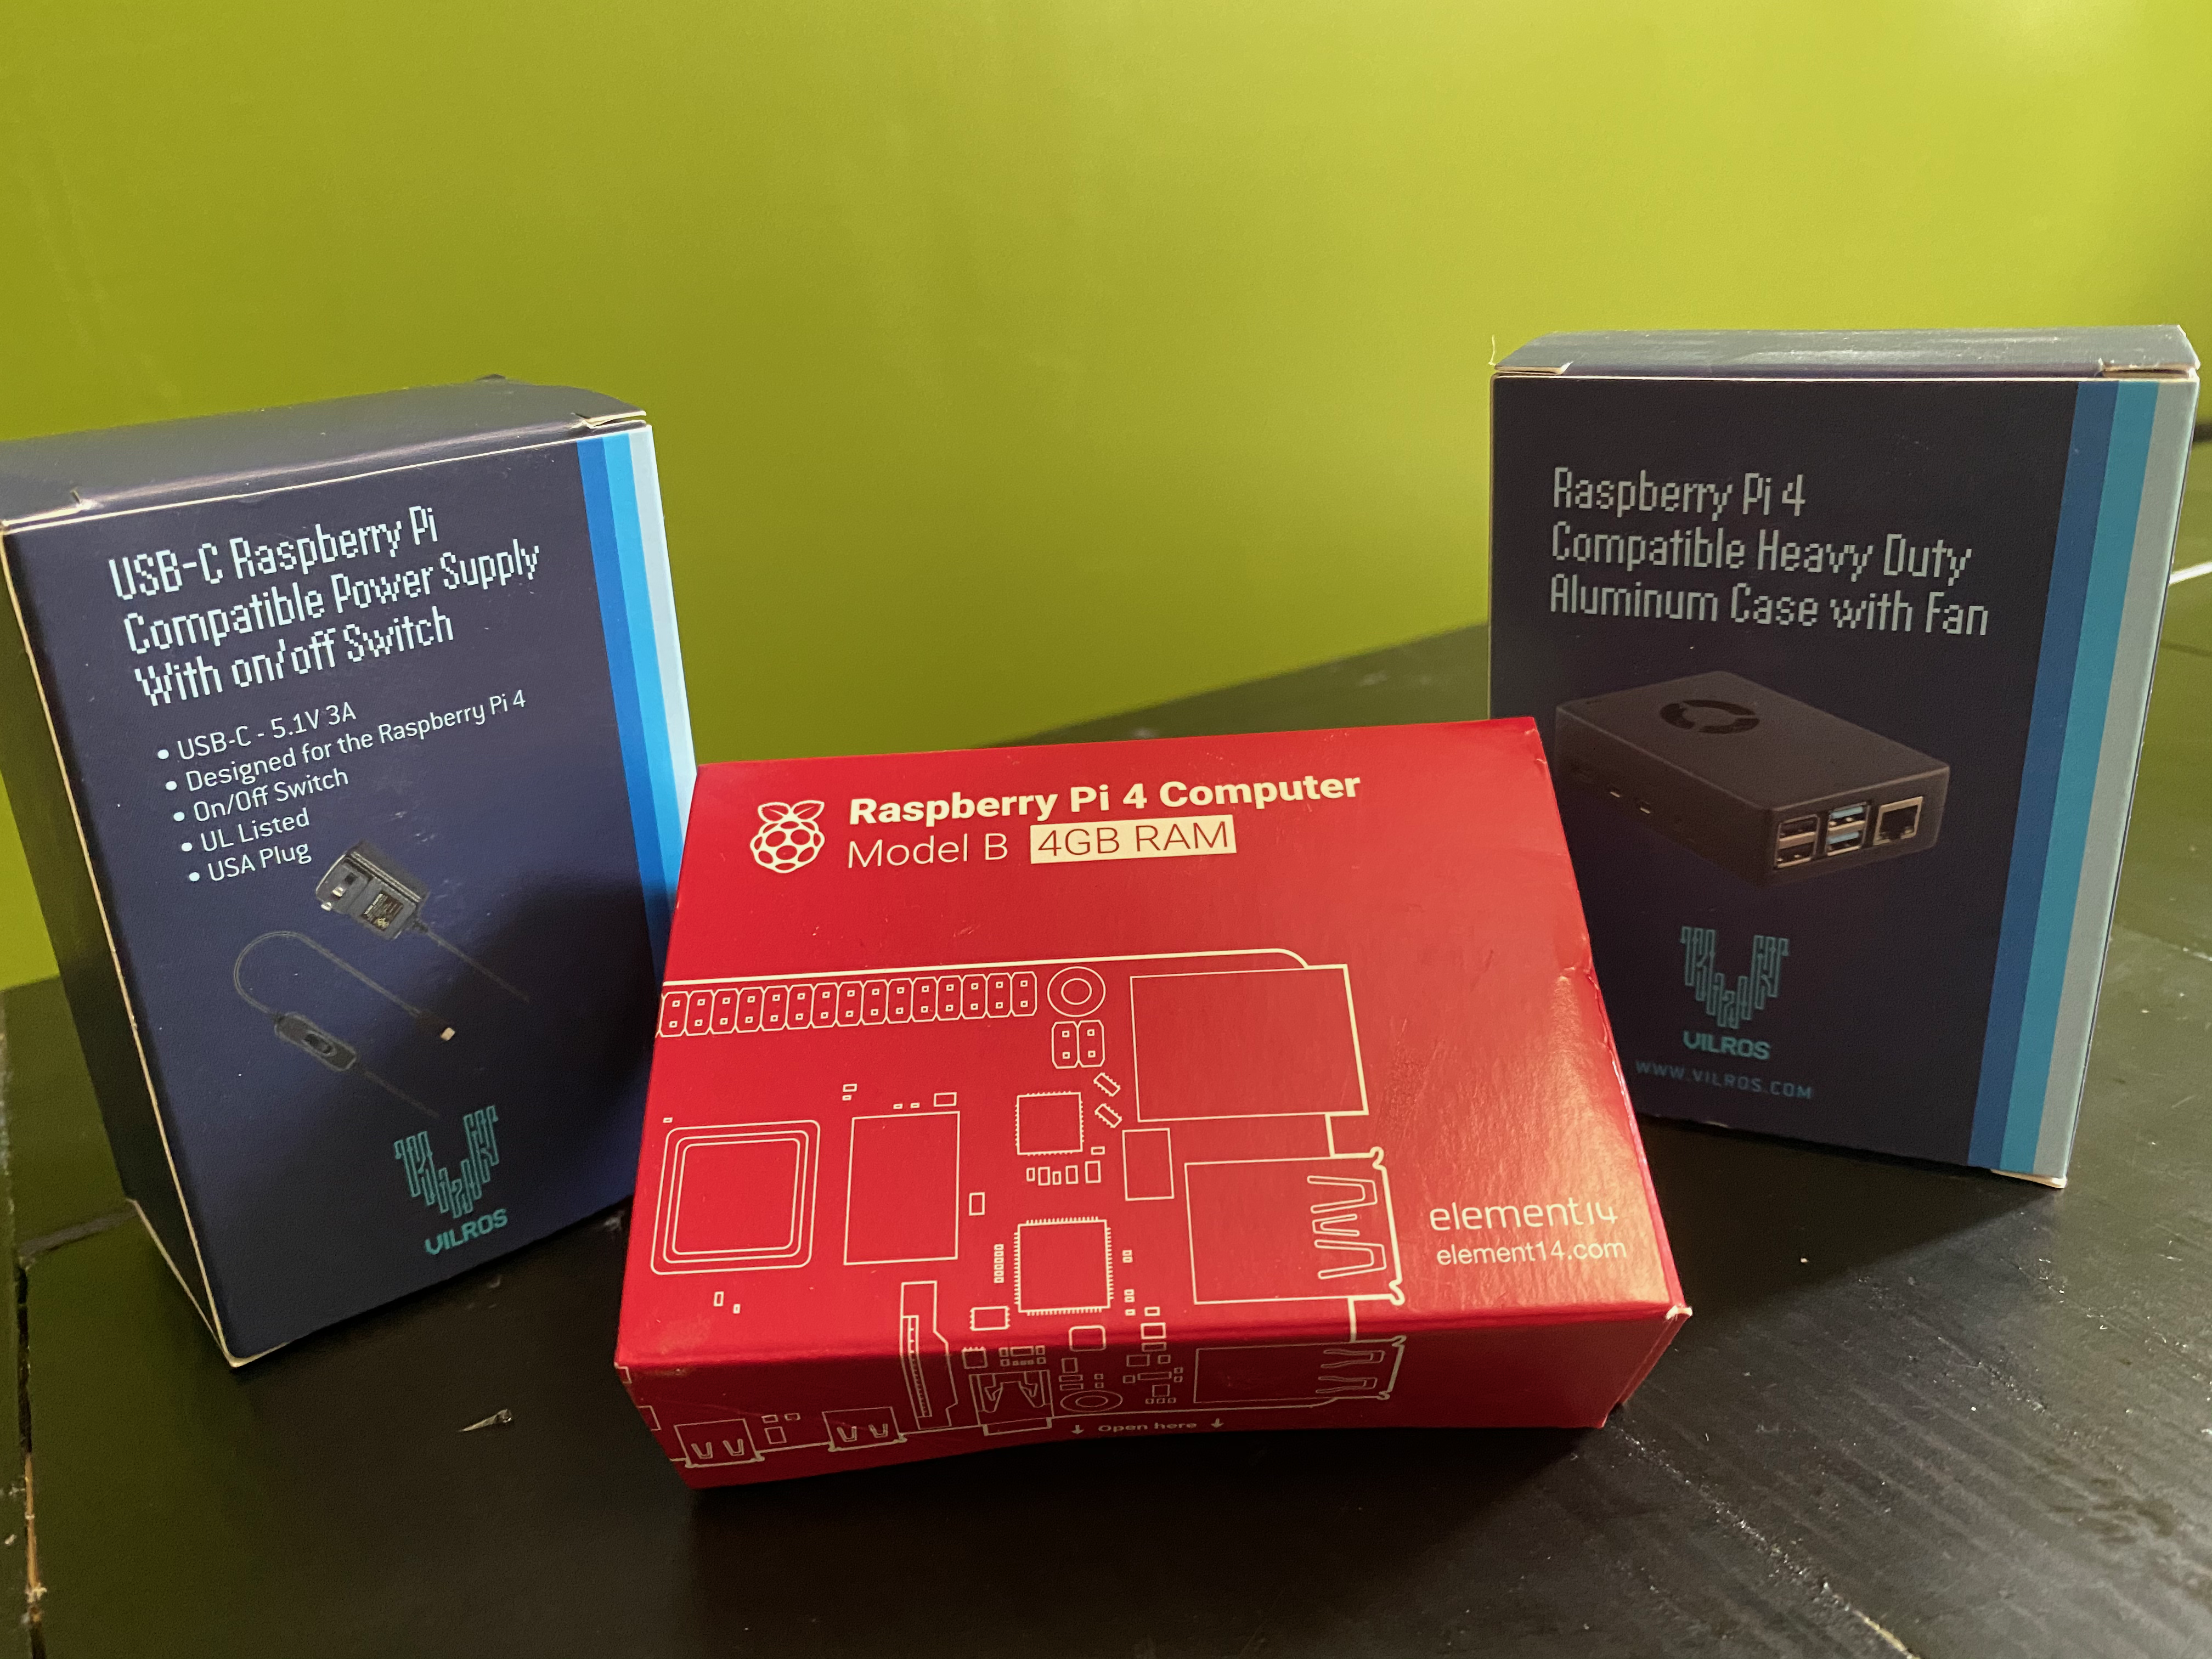
You will need to get your SD card. If you don’t have one, be sure to get an A2 card. Like SanDisk Extreme 65 gb
I would get a new card so you can leave your old home assistant up and running until the last minute. Also, you will want to be able to have a backup plan in case something goes wrong.
Preparation
Image SD Card
Since the Raspberry Pi4 is slightly different, you will not be able to move the SD card over to the new device. Just follow the instructions home the Home Assistant Getting Started page and grab the image for the Raspberry Pi 4.
I used BalenaEtcher to image my new card. Important safety tip. If you cannot update your current instance to the latest version for some reason, you will want to make sure you grab a Raspberry Pi4 image that matches the current version of Home Assistant you are running. Since we will be restoring from a snapshot, you will want the Home Assistant versions to match your old instance and your new one.
If you can leave your current instance up and running, go ahead and boot it up the new Pi. If you need to power down the current Home Assistant, skip to the Update and Backup step and then come back to Boot.
First Boot and Add-ons
It should take a little less than 20 minutes to get started up. The Raspberry Pi4 is fast than the 3. When you see the new user page, create a user. This account doesn’t have to match your old user account. Those will get migrated over. But for simplicity’s sake, I created my user account the same way.
After you log in, navigate to Supervisor, and choose the Add-on store. We need to install the Samba Share.
Samba Share
Installing it is straight forward.
I am sure you are already familiar with this, but just in case, you will go to Supervisor. Click “Add-on Store” along the top. Then search for Samba, and pick the one under “official add-ons.”
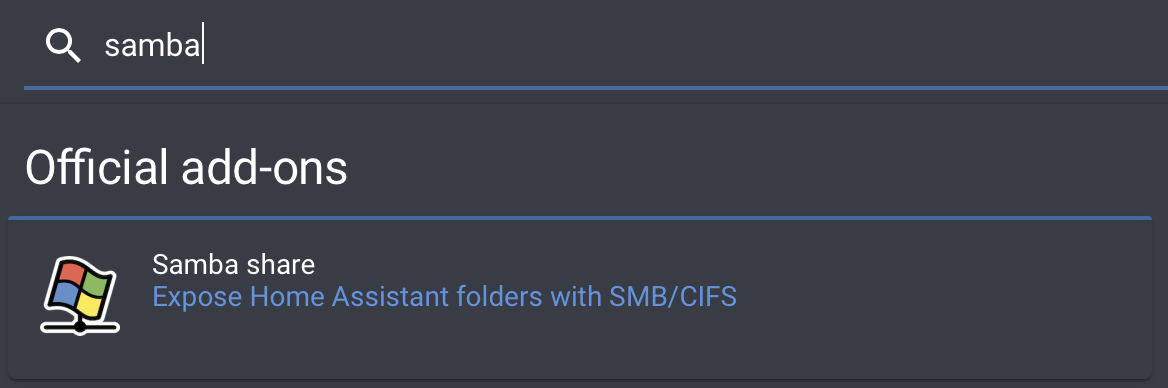
Just click the Install button. Don’t worry about starting it until you have them configured. For Samba the configuration is pretty straightforward.
Click “Configuration” on the Add-on.
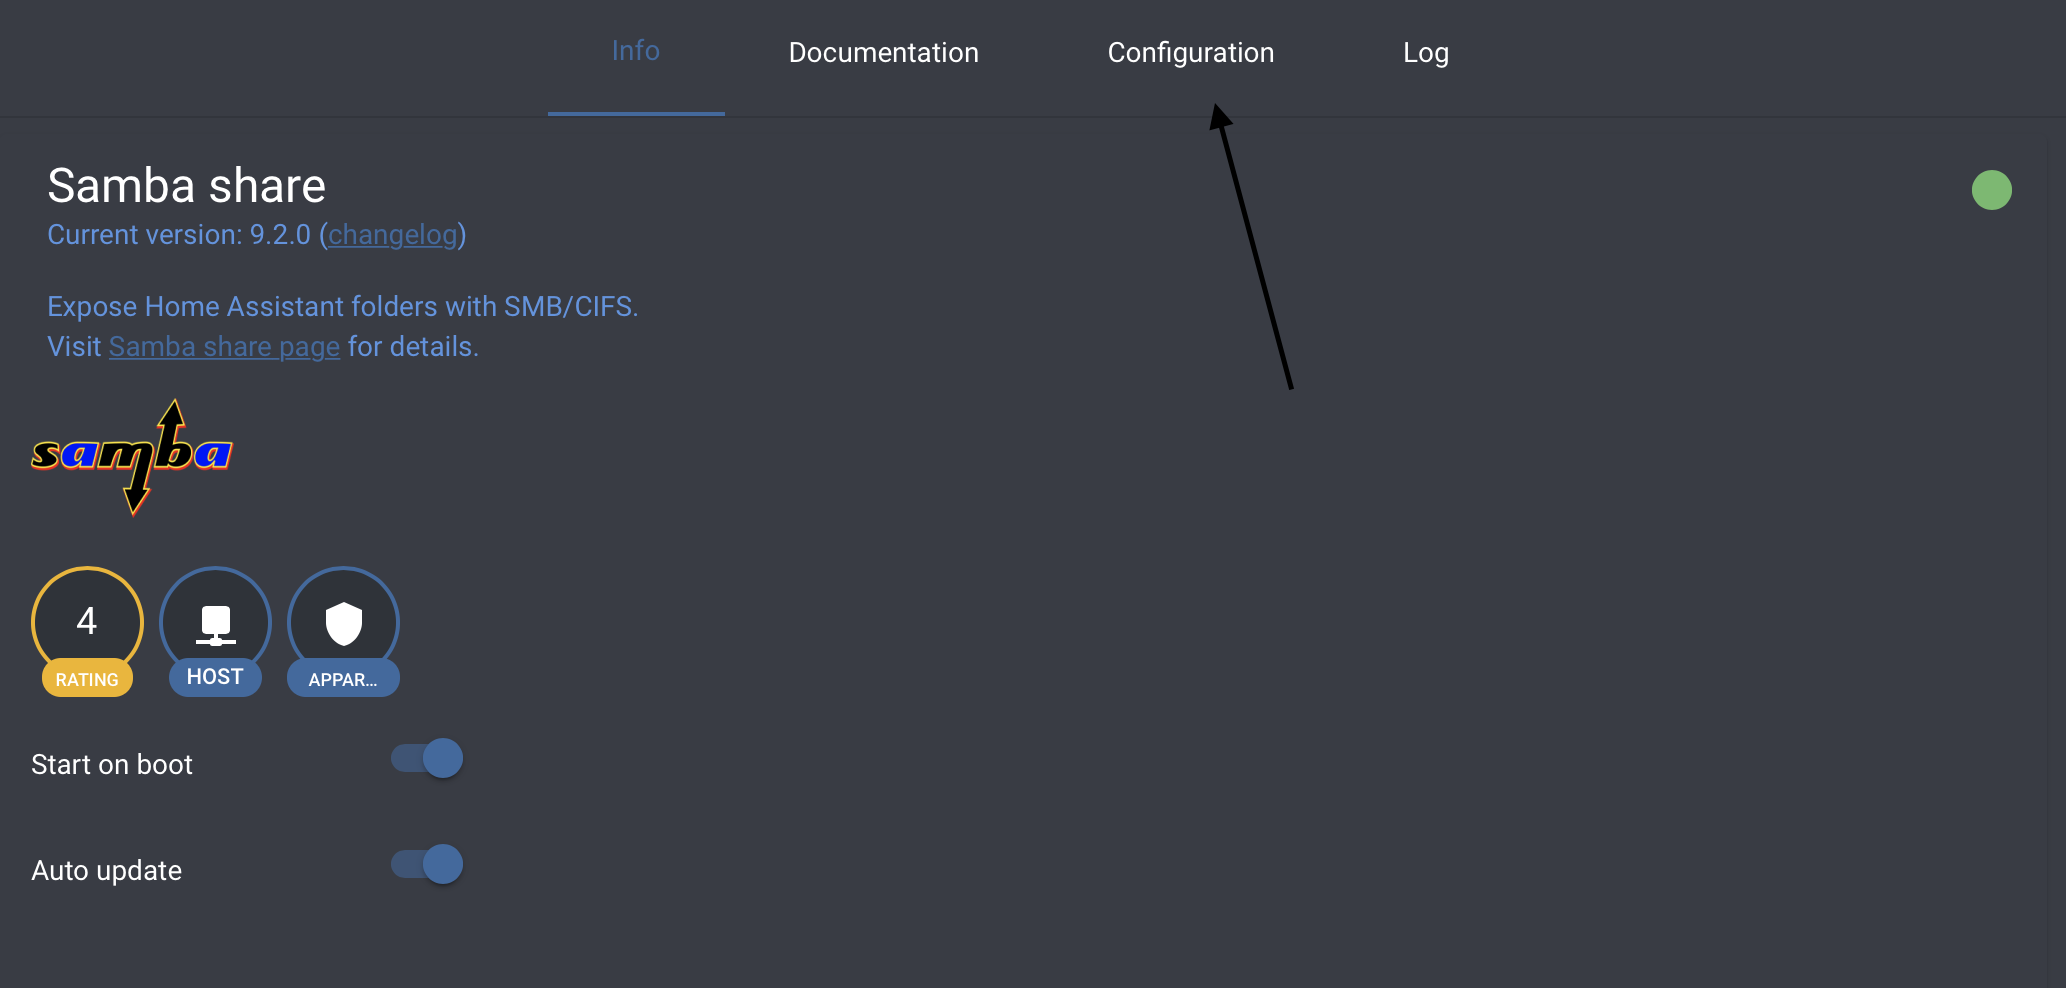
Following the How to Use steps from the Add-on, you should end up with a config that looks like:
workgroup: WORKGROUP
username: hassio
password: somethingwitty
interface: ''
allow_hosts:
  - 192.168.7.0/16
Make sure you update the configuration with your login information. You can always pull this from your current setup. When ready, click the Start button.
Once you have verified that Samba is up and running, it is time to move on to the next step.
SSH Access
If you don’t want ssh access, you can skip this section.
Just follow the same initial steps as the Samba Add-on, go to Supervisor., and click “Add-on Store” along the top.
Then search for SSH, and pick the one under “official add-ons.”
Click on it and click install.
Once installed, click “Configuration” on the Add-on.
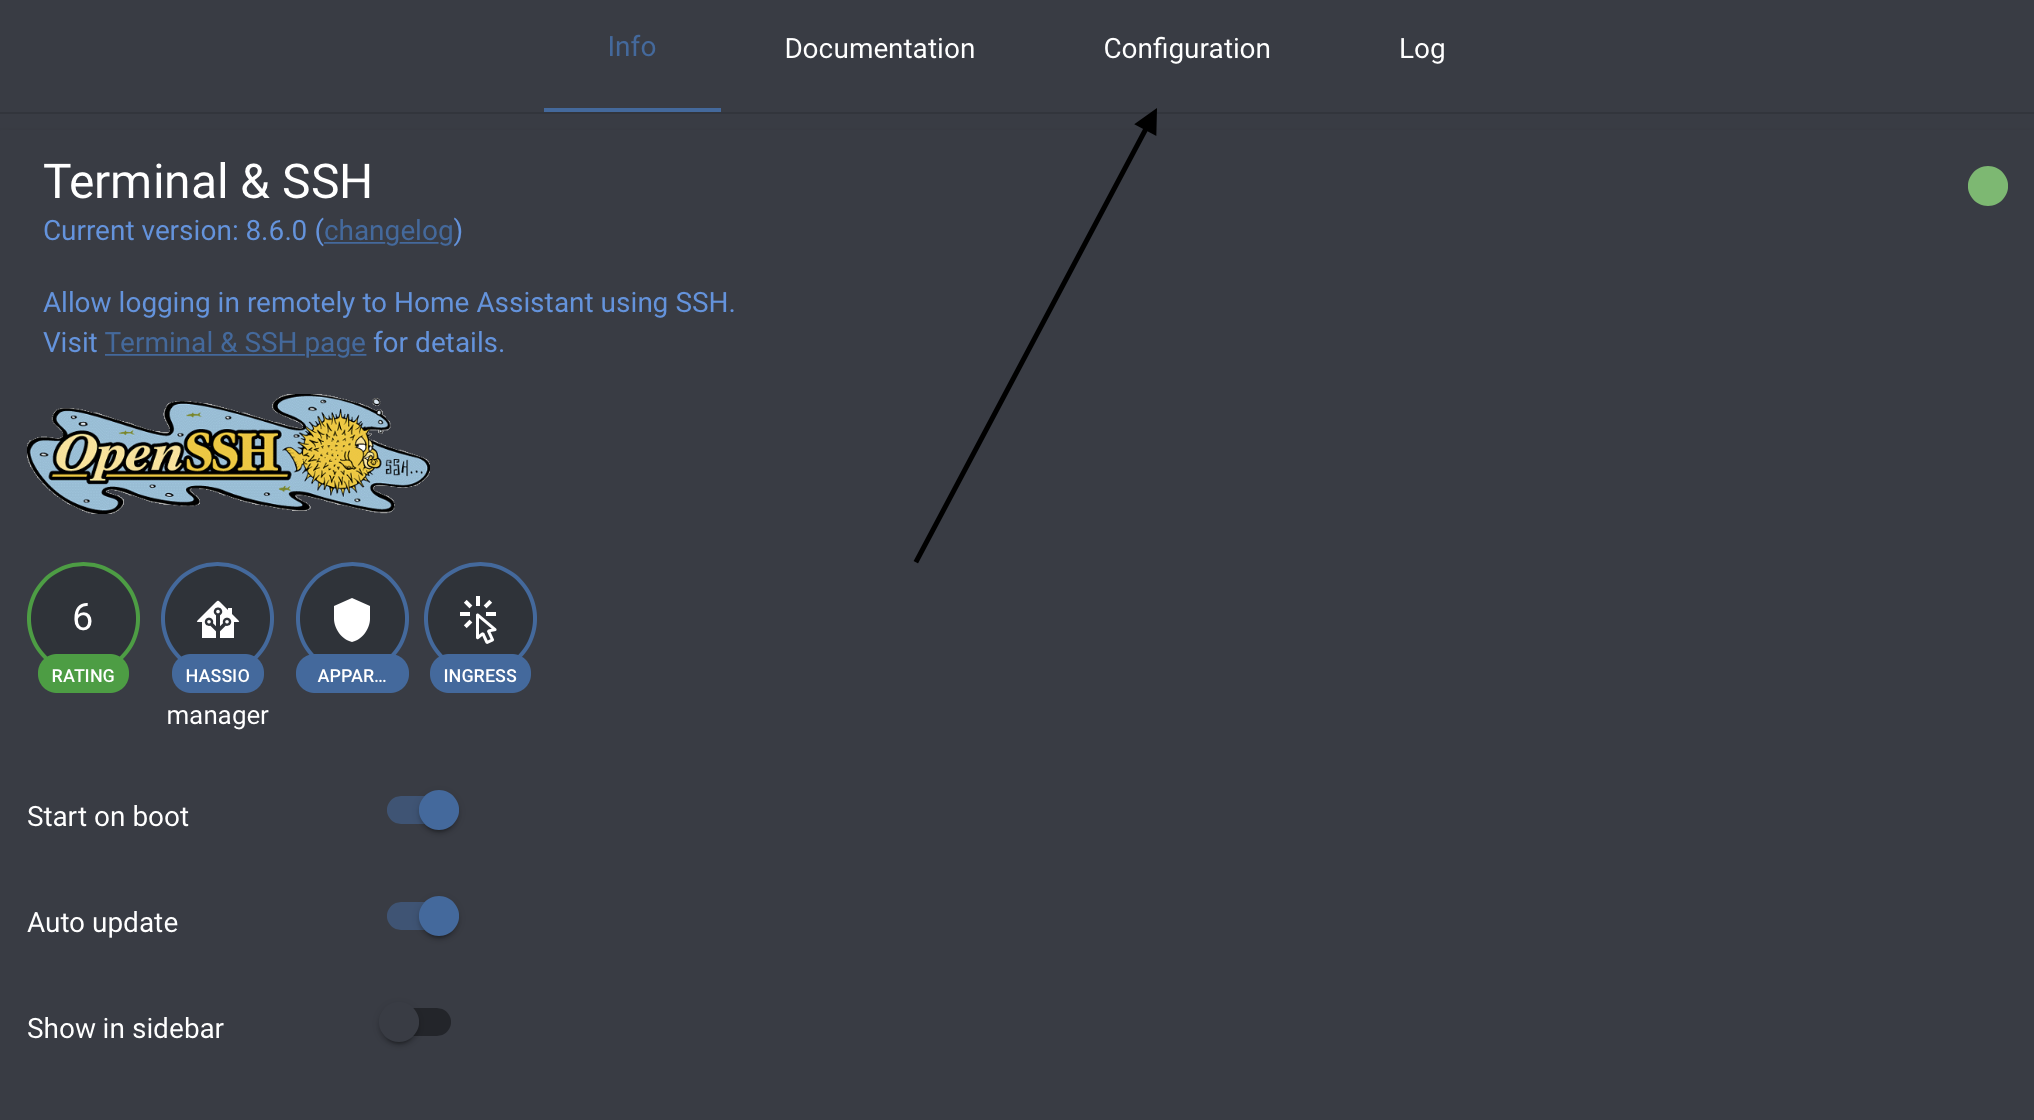
You will want to add your ssh pub key that you are using. If you were using this prior, copy the config from your previous version.
authorized_keys:
  -
password: ''
server:
  tcp_forwarding: false
Update the config with values that match your environment, and then start it up.
Now that all your add-ons are ready, its time to Update and Backup your old instance.
Update and Backup
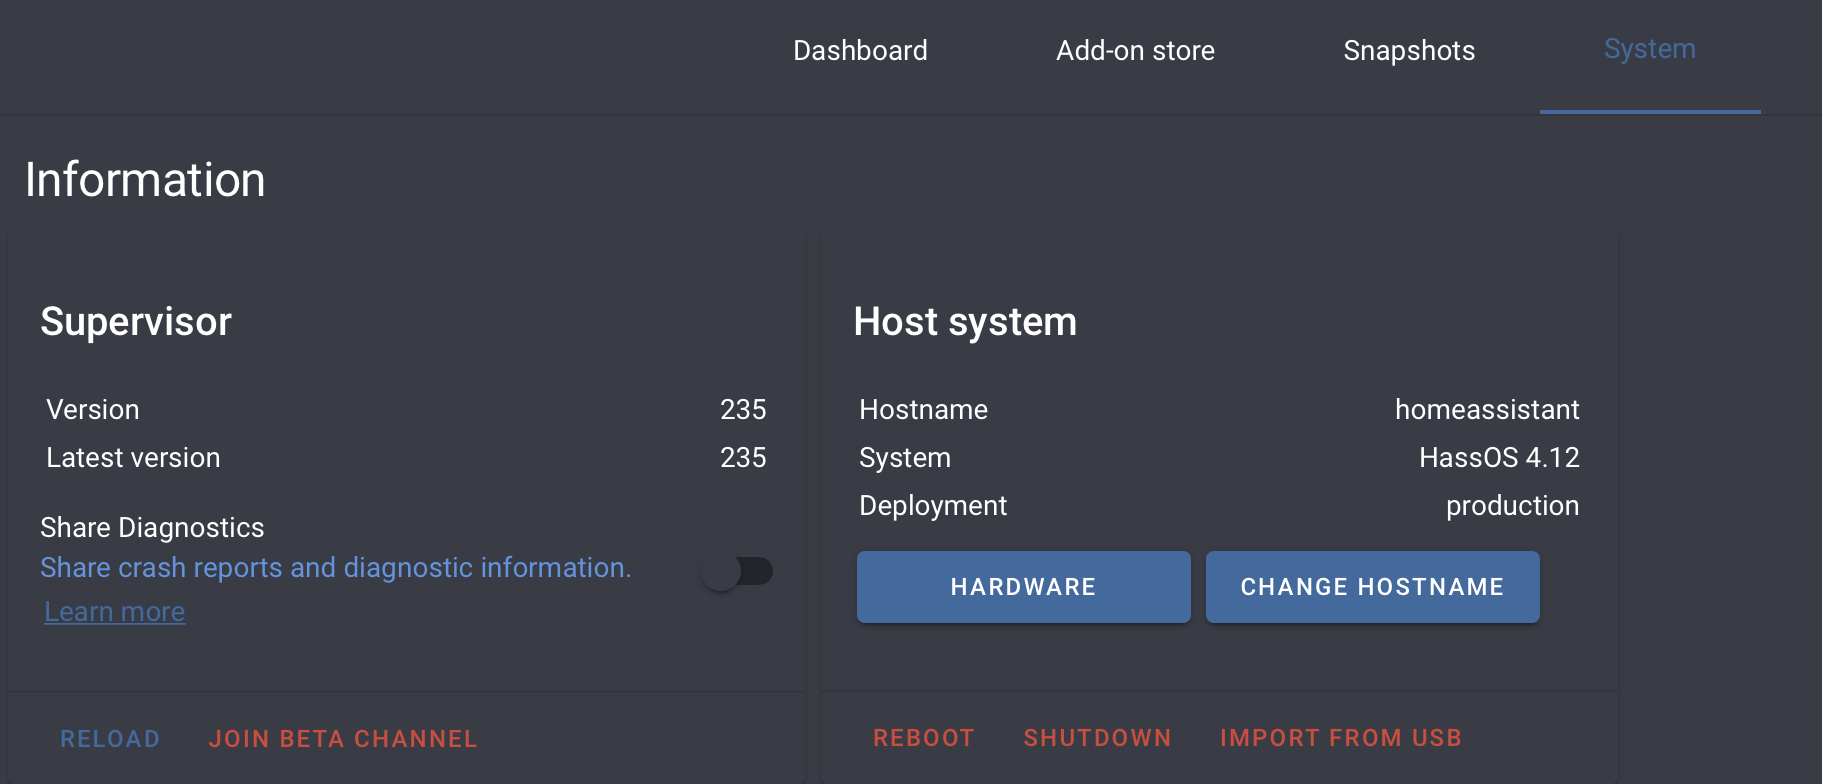
In this step, the first thing you will want to do is make sure your current version of Home Assistant matches the version you just booted up. That means you may need to update your current version. Just beside the version on both the current instance and the Raspberry Pi4 match.
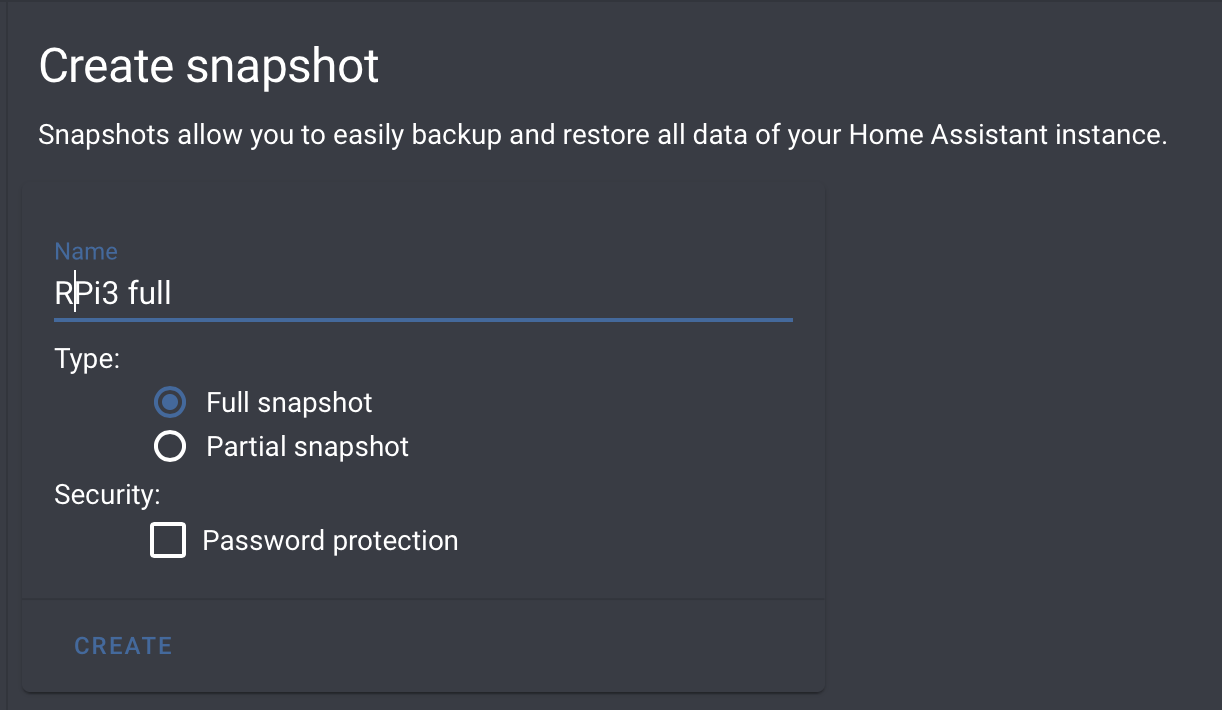
Then run a Full Snapshot. I always name my snapshots to identify them quickly, but some people like to live dangerously.
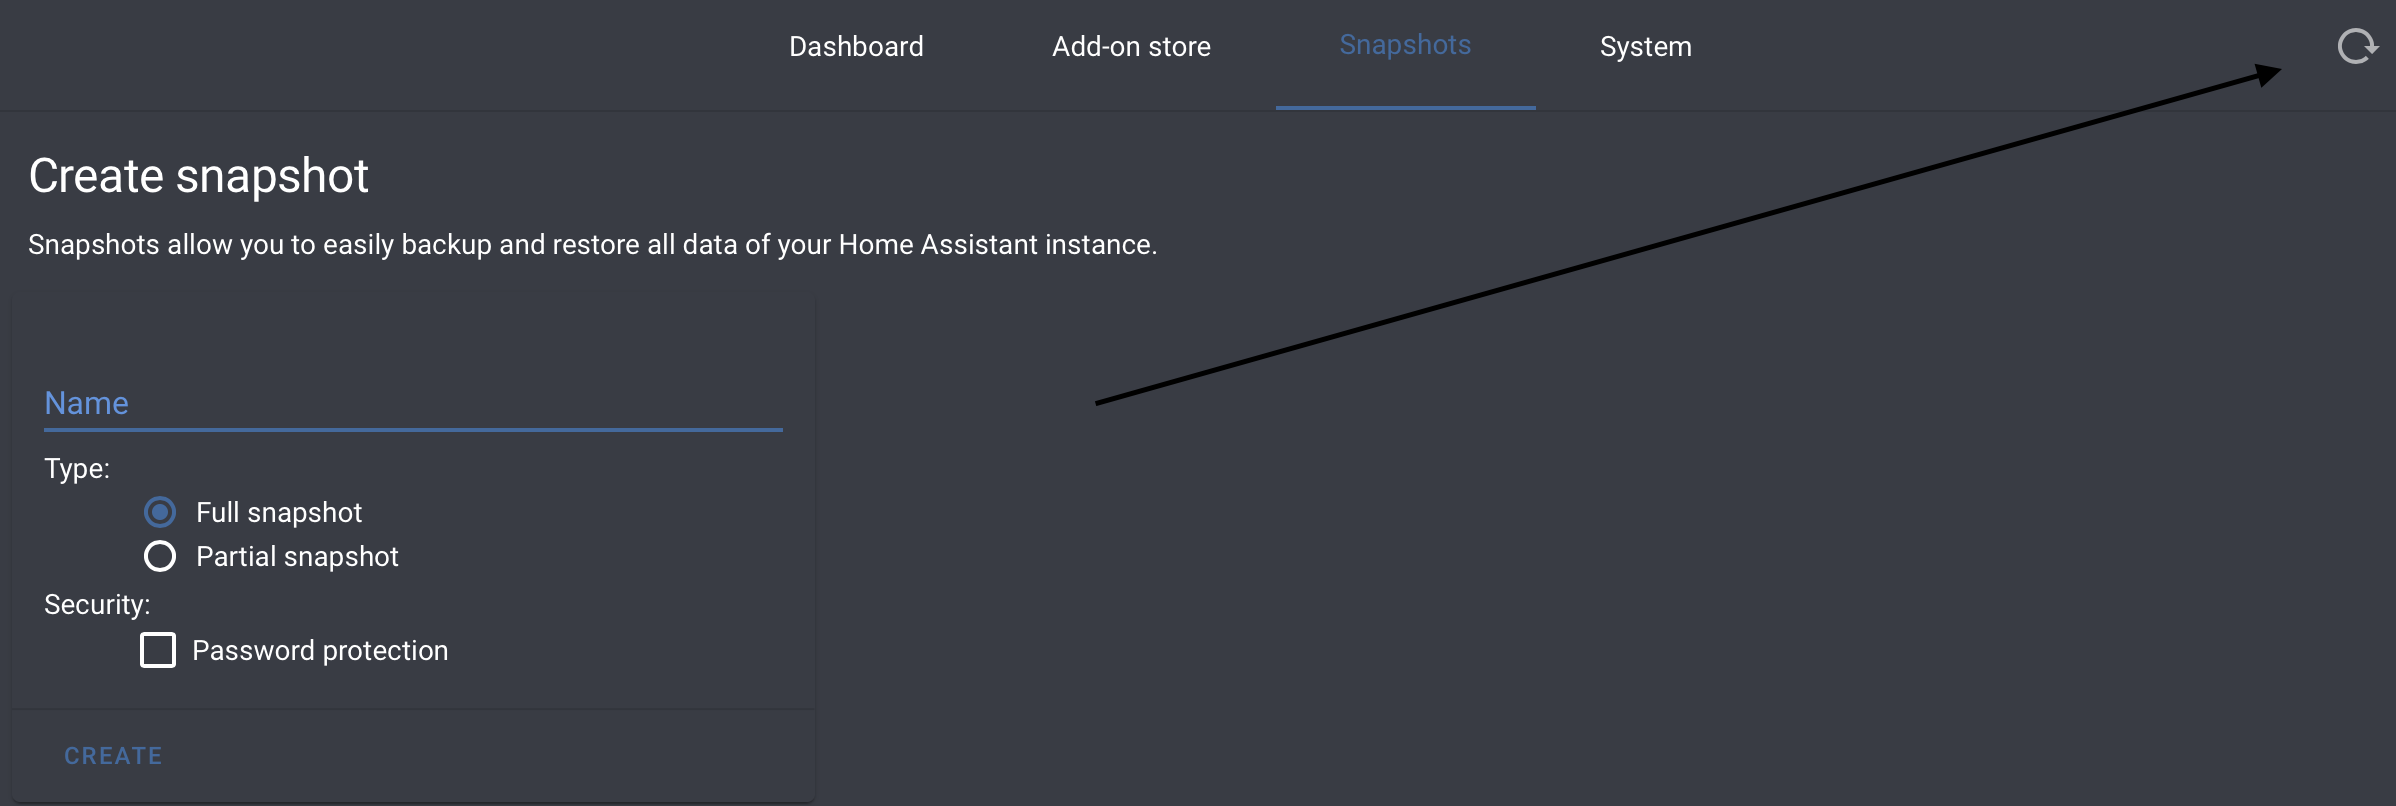
This process will take a while, so sit back and relax. When it completes, move that snapshot over to the Raspberry Pi4 via Samba. You will want to place the file in the “Backup” folder and then go to the Snapshots page in Supervisor. Hit the refresh button. Your snapshot should now show up under Available Snapshots.
Now it is time to start the migration process.
Migration
Hardware
In my case, I had some hardware I needed to migrate; if you do not, you can skip to the software section.
Both my Zwave and Zigbee devices are connected locally using USB sticks. For Zwave, it is the Aeotec Zwave Gen5 Stick , and for Zigbee, its the custom stick built for the Zigbee2Mqtt project.
Since I was moving hardware, I needed to power down the old instance. To minimize corruption in case I needed to power back up, I first shut down Home Assistant. If you have ssh access setup you can do this via the command line:
ha core shutdown
Then I shut down the host:
ha host shutdown
If you what to do it from Home Assistant, you can do that from the System tab in Supervisor. Just choose “shutdown.”
Then I moved the USB sticks to the new Raspberry Pi4. Since I had the SSH add-on, I took a moment to check if both USB Sticks were working. the command for that is:
ha hardware info
And this is where I found my first issue. It turns out the Aeotec Zwave Gen5 Stick has a problem with the Raspberry Pi4. You can read more about it at https://www.raspberrypi.org/forums/viewtopic.php?t=245031, but the fix is pretty straightforward. Just plug in a USB hub to the Raspberry Pi4 and then plug the Aeotec stick in the USB hub. This gets around the weird power issue. Then I reran my command, and both devices were showing up under the serial interfaces.

Be sure to make a note of the addresses of the devices. You may need to update Add-on configs. In my case they were /dev/ttyACM1 and /dev/ttyACM2.
Software
Now we are at the easy stuff—Head over to the Supervisor and the Snapshots page. Click on your full back up, and uncheck “Home Assistant” since we want to avoid potential code conflicts. You can remove any add-ons you do not wish to. I believe HACS-if you are using that-is backed up under “local add-ons”, so make sure you leave that one if you want to transfer over HACS.
Then click “Restore Selected”.
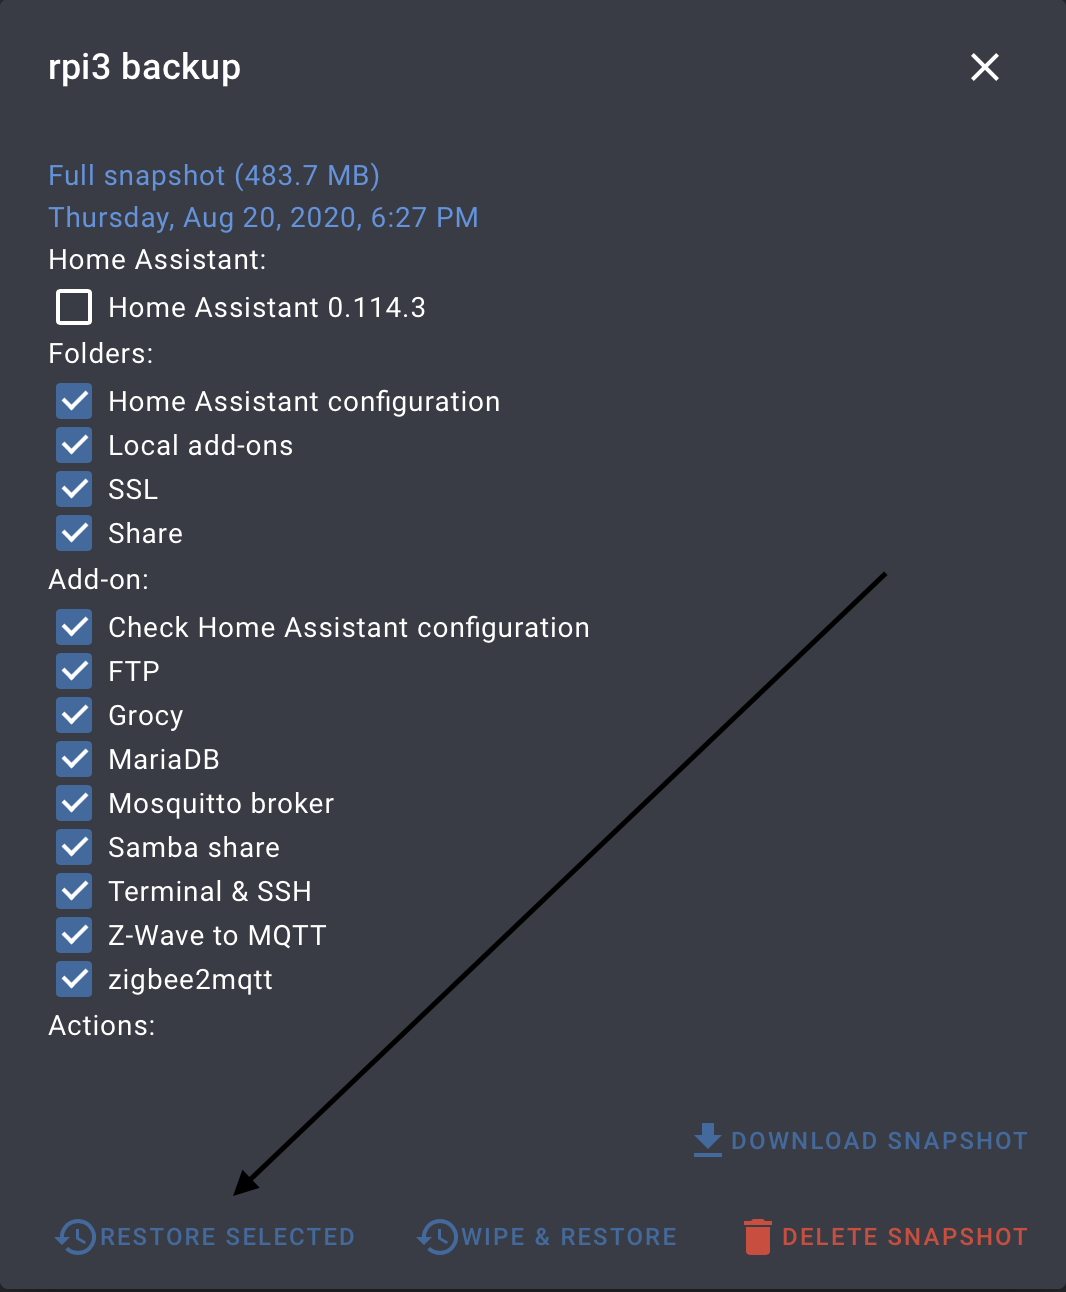
Choosing this will restore anything that was left checked. That includes previous user accounts, SSL certs, and add-on configurations. I didn’t select wipe and reinstall because I didn’t want to reinstall Home Assistant from the backup.
Now it is time to do something else because this part is going to take a while. I think I waited 45 minutes before I went to check. And because SSL got applied, the screen never refreshed on its own. But once I added https before the IP, it loaded right up.
Finishing the Configuration
IP Address
Your IP address of your home assistant host changed. You could address it by changing the forwarding on your router to point to the new address. But if you have other local services connected to the previous IP, you will need to make sure you update all of those services or change your device IP to the old one.
Hardware
If you were using add-ons that were talking to USB hardware, you would need to make sure the configurations are pointing to the right addresses. I had to update both Zwave2Mqtt and Zigbee2Mqtt. But once I updated the configs for both, saved the changes, and restarted the add-on, they both came up as expected.
Reboot
And finally, once you have verified that everything is up, you will want to reboot. If you are using HACS, this reboot will add it back to the sidebar.
Final Thoughts
I was worried this was going to be a disaster, but it went relatively smoothly. The Aeotec Z-Stick Issue was the only thing that popped up I wasn’t expecting. If you found errors or places where my directions were not clear, please leave a comment or hit me up on Twitter.
And with that, I am off to automate something else.