WLED Powered LED Strips and Home Assistant.

Ever since watching DrZz’s video on WLED Christmas lights I have wanted to take the plunge and try them out. Then my son asked for a Loft Bed which gave me the perfect place to try them.
If you want a good primer on WLED and all your LED strip options check out DrZz’s video. He breaks down the WLED options. He actually has quite a few videos on WLED and if I had watched all of them I wouldn’t have had the issues I had. But I jumped in after watching the first video (turned out it was just part 1) and fought my way through it. Let me show you how I did it.
You don’t need to know any programming to get this going in your home. You just need a computer with a usb port, mini usb cable that can handle data, and an internet connection.
What you Need to Get Started
All of the supplies for this project I got off Amazon. I’m sure you can get them from AliExpress as well.
Control Board
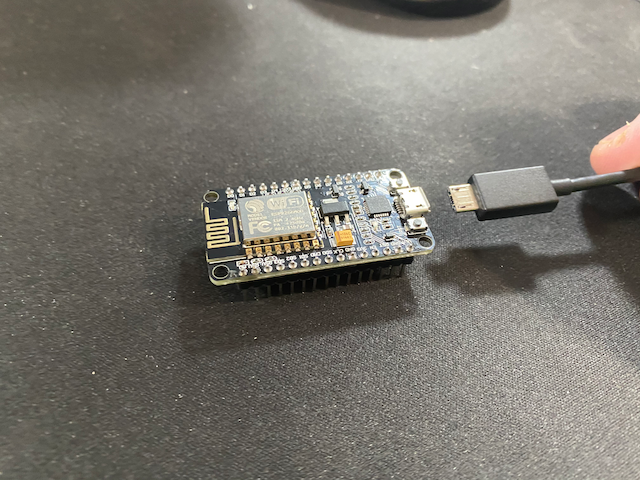
You will need a NodeMCU board. This will be the brains of your WLED lights and will allow you to connect to these over Wi-Fi and it will run the WLED software allowing you to change the colors and effects. When picking out boards, the WLED project recommends at least 4MB flash. Since these can be used to build your own sensors, or add more WLED lights I went with this 3 Pack, and they worked well:

You will also need some jumper wires to connect the NodeMCU to the LED Strips. You could skip this and just solder the wires to the board, but since I wanted this to be something anyone could follow I grabbed some male to female jumper wires. Actually, I happened to have a load of them already that were acquired during previous projects. But if you need some you can get these:

LED Lights
I went with the Alitove Addressable LED Strip. It’s a 5 meters strip with 30 LEDs per Meter so around 16.5 feet and a total of 150 LEDs and they are waterproof. You will need that total number in a bit.

If you don’t need the water proof version you can save $3 and go with:

Power
For the LED strips I linked to above you need a 5v power supply. How many you need really depends on how many strips you are adding and how long the strips/how many LEDs your strip has. The basic rule for these 5v power strips is you will need a power supply every five meters. Since I was just adding one strip I went with:

Housing the Electronics
You will want a box to contain the electronics in most cases. DrZZZs recommended a travel soap container. And that would work. You could also 3d print something if you happen to have a 3d printer. I decided to go all in and get one built for outdoors:

Optional stuff
Clips for mounting the strip (Because the adhesive back doesn’t work that well when mounting under something):

Setting up WLED on the Node MCU
The Software
Now that we have all the ingredients we can start getting this all setup. You will need to download two things: the firmware, and the software to flash it to the NodeMCU.
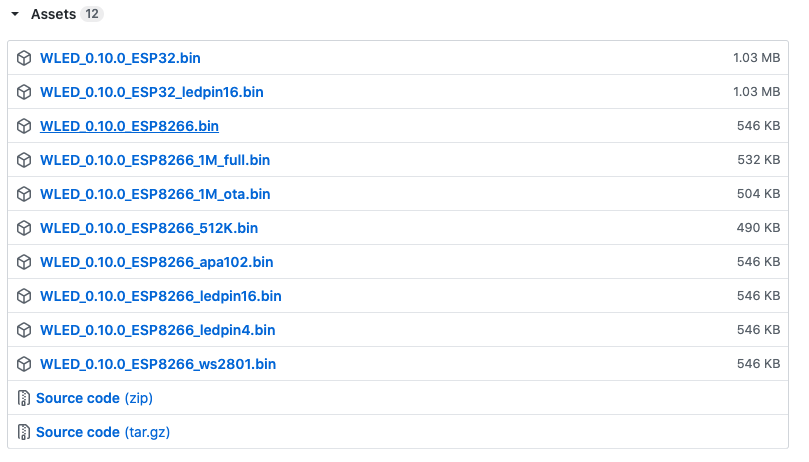
The WLED firmware can get grabbed at https://github.com/Aircoookie/WLED/releases
You will want to grab the latest under assets, so if you are using a NodeMCU like linked above you need WLED_0.10.0_ESP32.bin where 0.10.0 is the version, or the latest version.
And you will need software to flash from https://github.com/esphome/esphome-flasher/releases
Just download the version for your OS, Mac or Windows. You will get a warning about running the software but you are good to go.
The Hardware
Next connect your NodeMCU to your computer using the USB cable. You may see LED on the board turn on then off. That is fine.
Flashing the NodeMCU
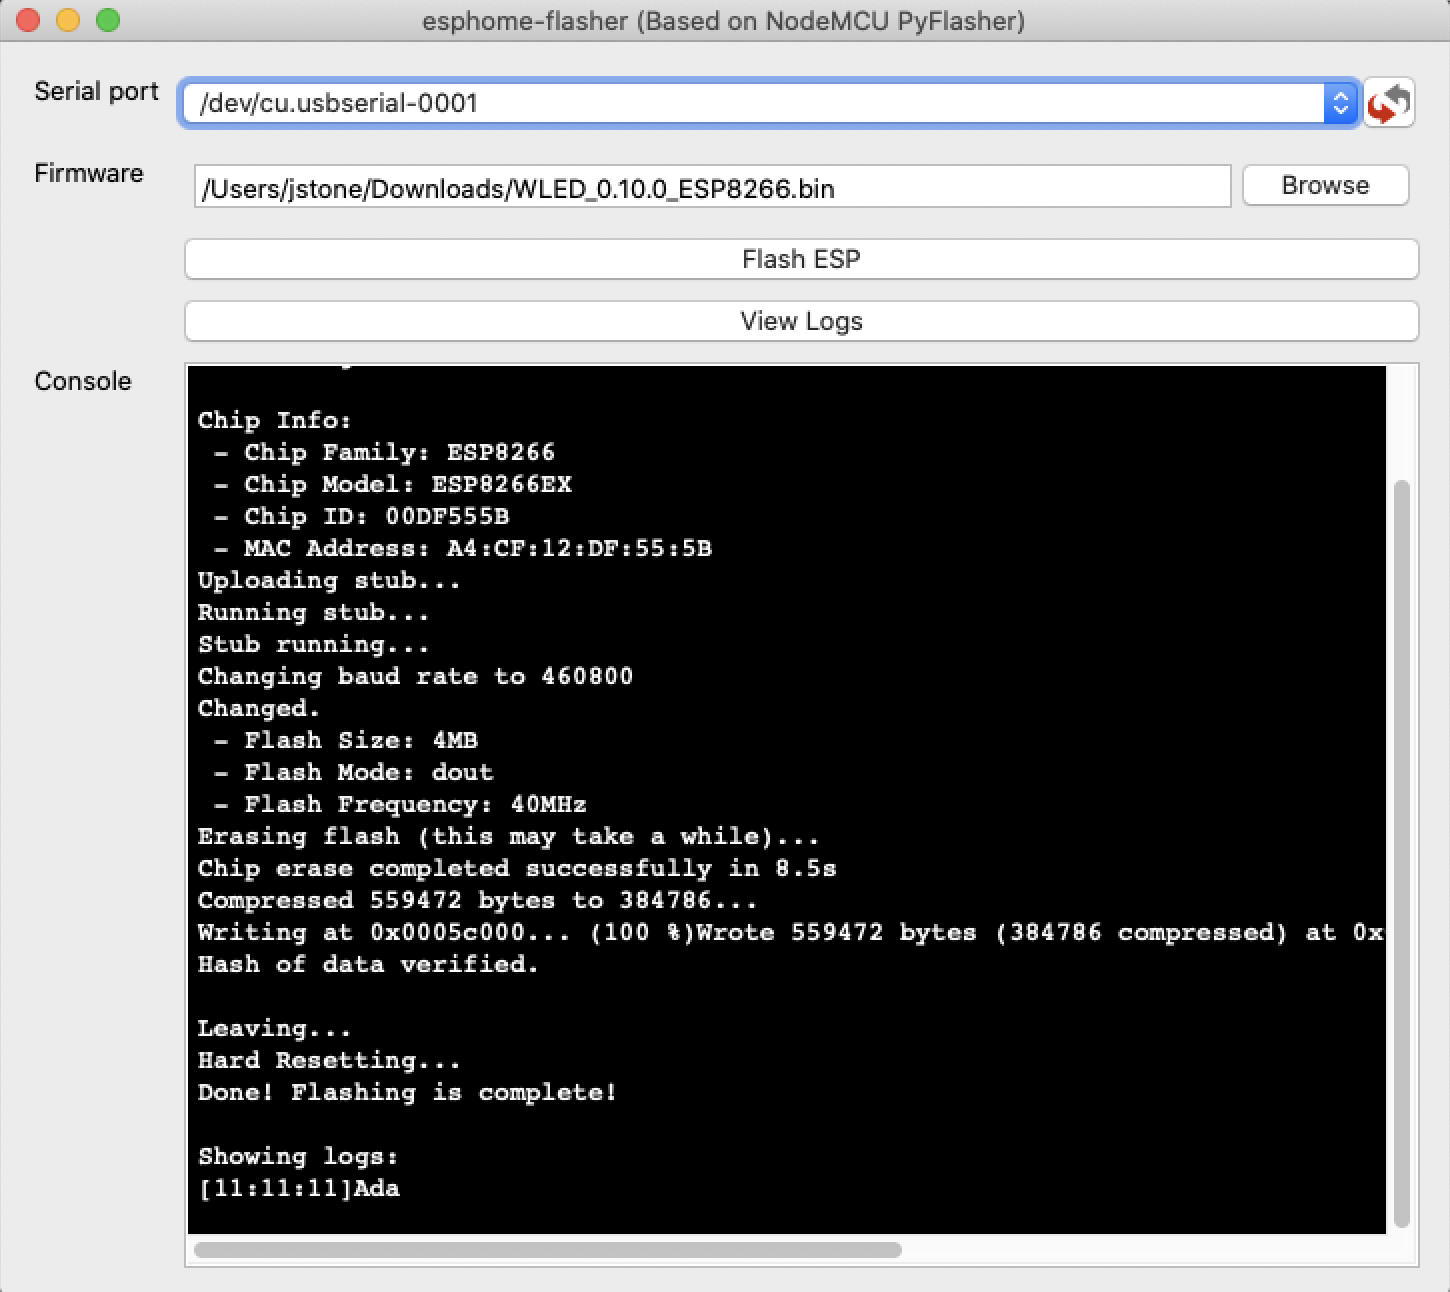
Now it’s time to use the Flashy Thing to erase its memory, Men in Black style. When you open the ESP Home Flasher it may autodetect the serial port the NodeMCU is connected to. If not you will have to find which one it is. As long as you don’t have multiple NodeMCUs attached to your computer at one time it should be easy.
Then click browse and locate the WLED_0.10.0_ESP32.bin file you downloaded earlier.

Then click Flash ESP. When it is done you will see Flashing is completed!:
Configuring WLED
Next you will want to connect your computer to the WLED-AP that is now in your wireless network options:

The AP password is wled1234
Once connected the following window may popup:
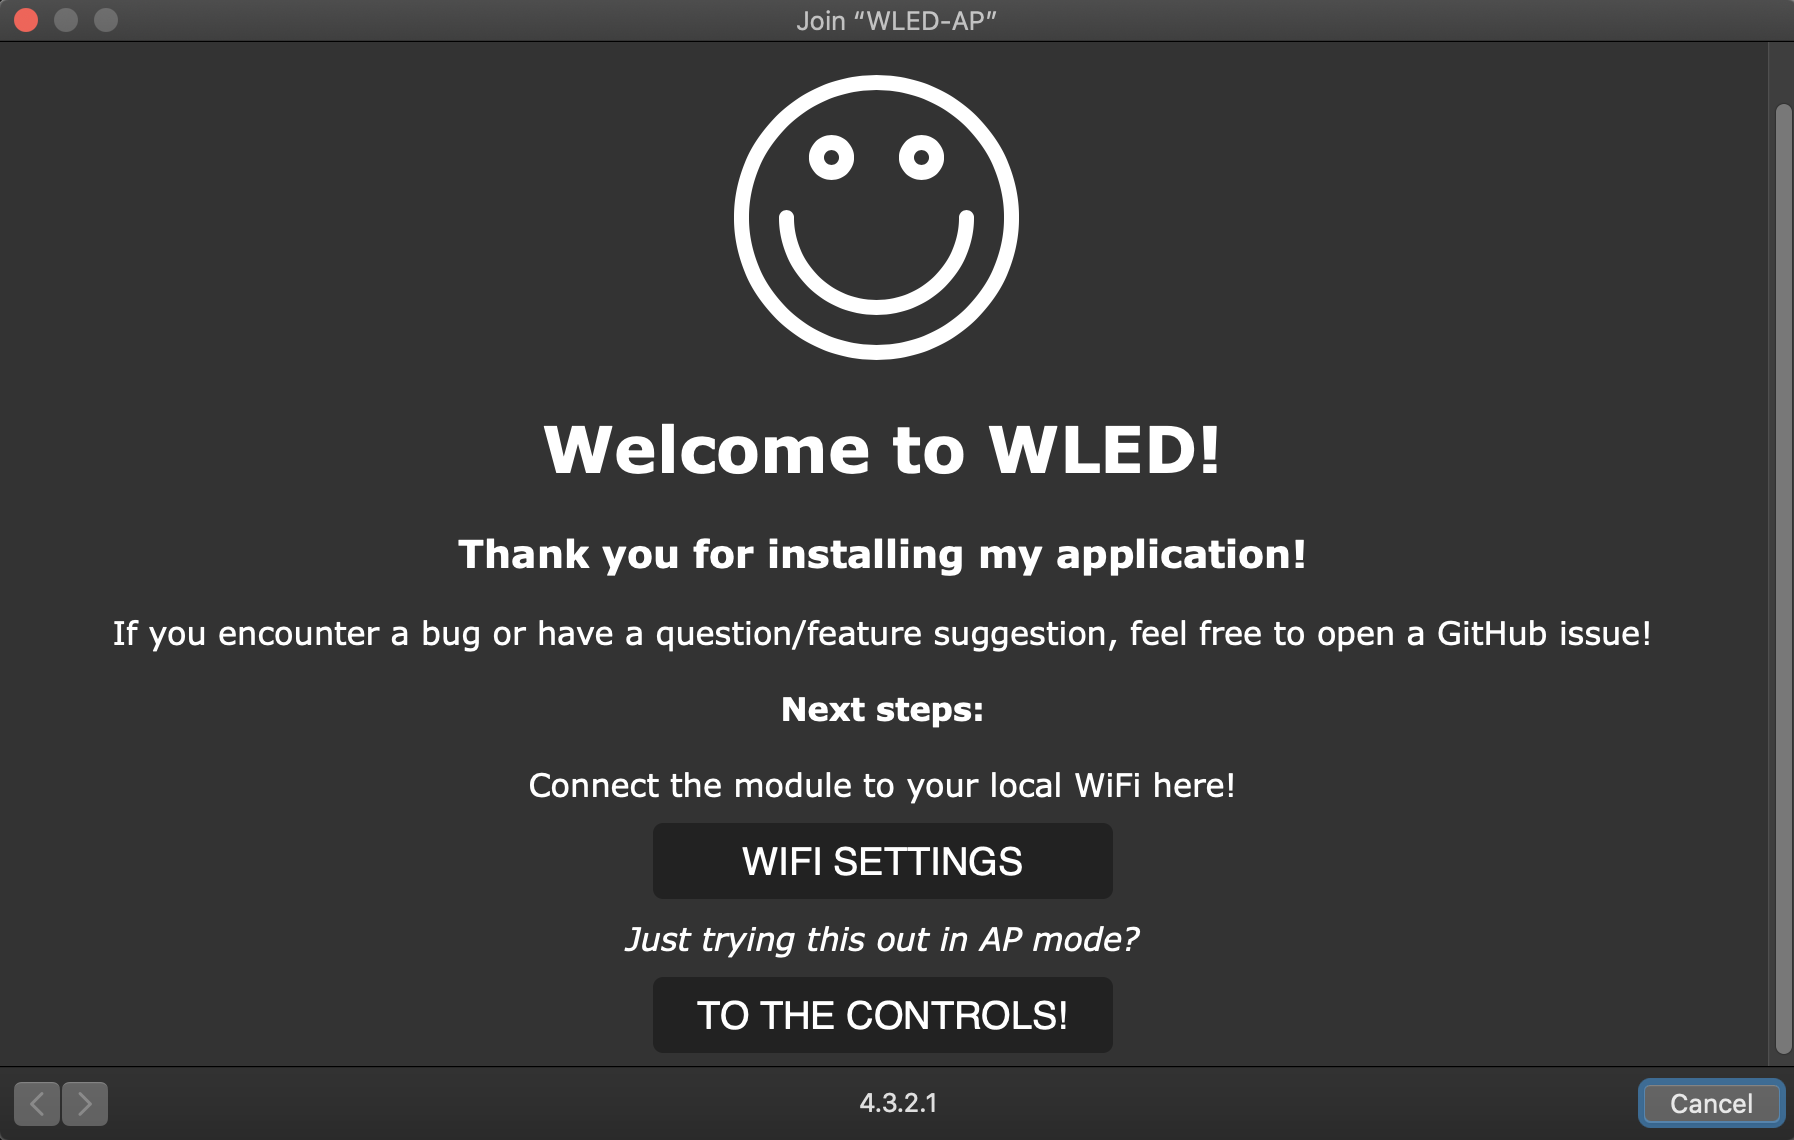
If it doesn’t, simply open your browser to http://4.3.2.1
Then click WIFI Settings
Here you will want to configure the SSID and network password for your environment.
Then scroll down and and update the mDNS name if you want. I also hide the AP name by checking the box.
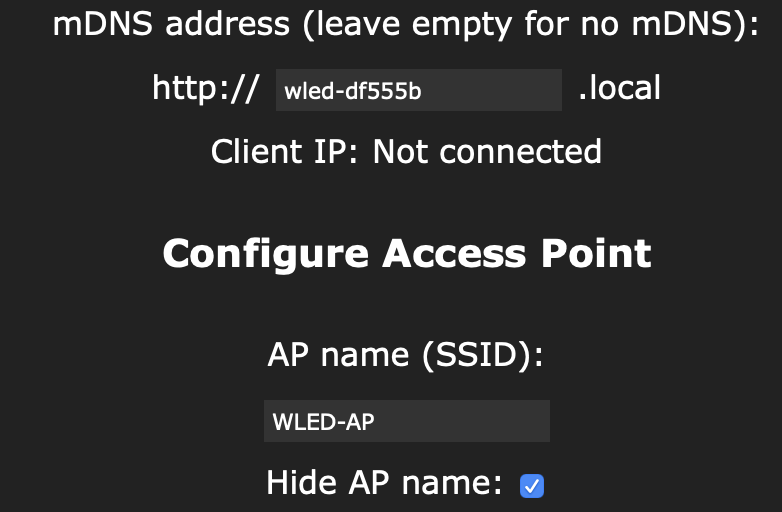
Then click Save & Connect which will reboot the device and connect to your wireless network.
Wiring
It is possible that your wire colors will be different, so just plan accordingly. The colors used below match those I found on my Alitove LED Strip.
If you are using the jumpers it is now time to grab them. We are going to connect the NodeMCU to the LED strip. If you are using the jumpers I suggest using the colors that match your LED strip.
Using the Alitove strip, the jumpers needed to be Red, Green, and Black. Red is for power, green for data, and black for ground.
Red goes to the Volts In or Vin pin. Black goes next to it in ground. Green goes in D4 which is on the other side. So if you are looking at the bottom of the NodeMCU it will look like:
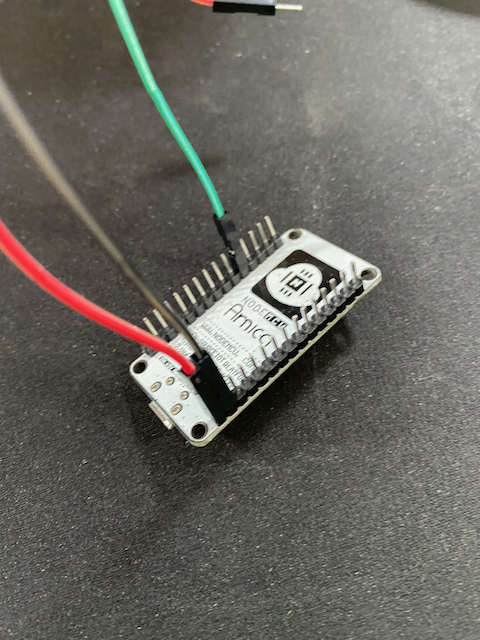
Now just plug in the jumpers to the three female counter part on the LED strip.
Net we need to connect the power. If you ordered the power strip above it came with a barrel connector that you can connect to the LED strip. There will be two wires coming off the LED strip that are not connected to anything. These are to be connected to your power supply. The red wire will be positive and the black is negative. Just connect the barrel connector to the LED strip:
Now with the 5v strips you are going to have some voltage drop even using the power supply I linked above. In order to combat that you just need to supply power to both ends of your LED strip.
To do that I purchased 65.6ft Extension Cable Wire Cord JACKYLED 20M 22AWG Wire Cord for Led Strips and T Type 2pin Non-stripped Wire Connectors.
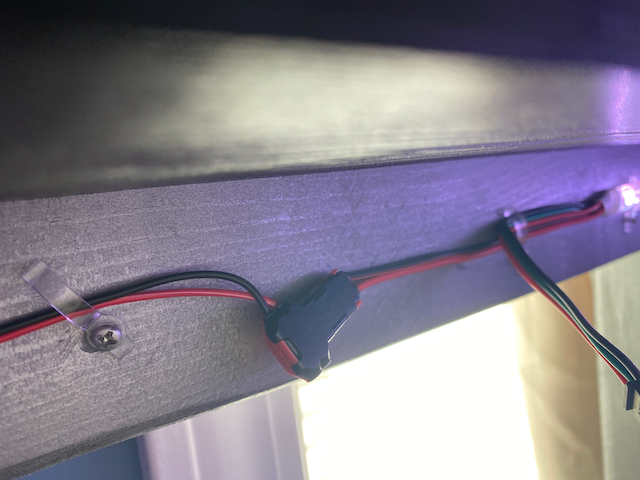
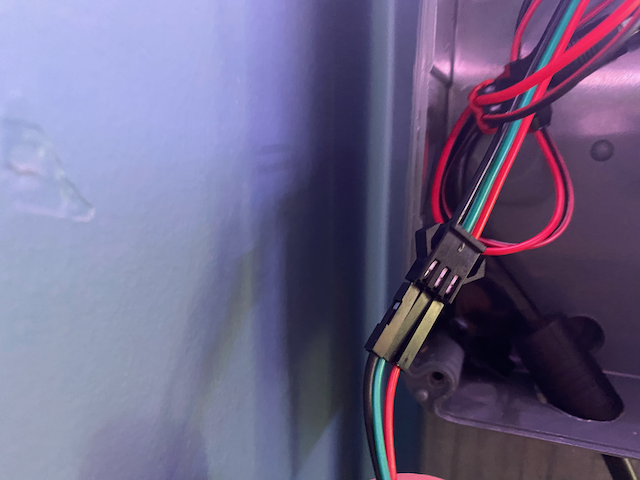
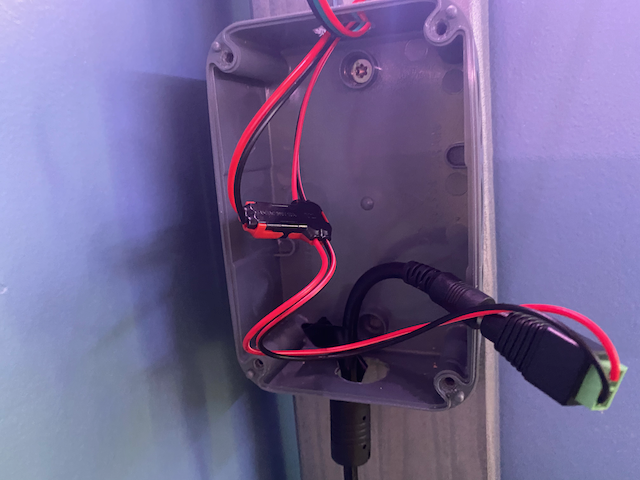
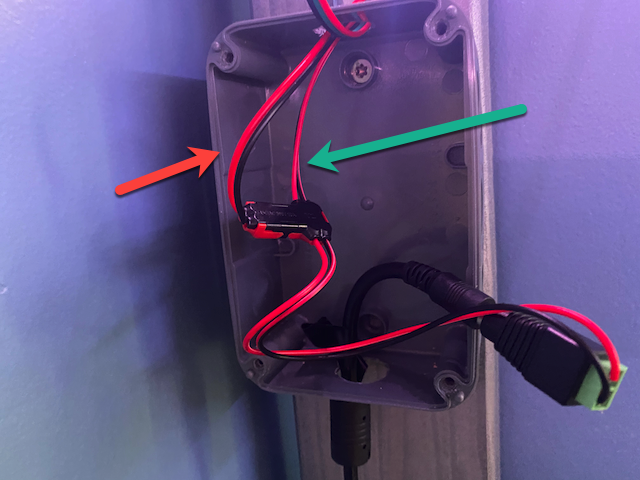
Then I just put the T connector inline from the barrel connector. The wire with the green arrow is going to the next T connector to connect the end of the strip to the power, and the Red to the beginning of the LED Strip.
And at the end of the strip I used another T connector to connect the wire.
These connectors are made so you don’t have to strip the wire. Just put it in and close the connector. Just make sure you keep the positive and negative in the right places.
Now plug into power supply to the LED strip and the wall and you should be good. Your LED light strip should turn on.
However, you may notice only only 30 LEDs turned on. If that is the case don’t worry like I did. Or panic and think you did something wrong. Just keep reading. We will fix that in the next steps with a configuration update to the WLED software.
Controlling your new LED Strip
There are multiple ways to access your new LED light strip. You could just use a browser, the WLED app, or Home Assistant. Which ever method you choose there is some updates you will likely want to make to the WLED configuration.
Getting to the WLED software
First let’s go through getting to your new LED Light Strip to control it. In the browser you can just got to the mDNS you setup in the configuring step http://wled-. Frankly this doesn’t work on my network, so I just go to the IP address: http://192.168.1.144 The following steps should work as well from the browser.
However, you can also use the WLED app. On iOS just go to the app store and search for WLED. Then install it. It’s free.
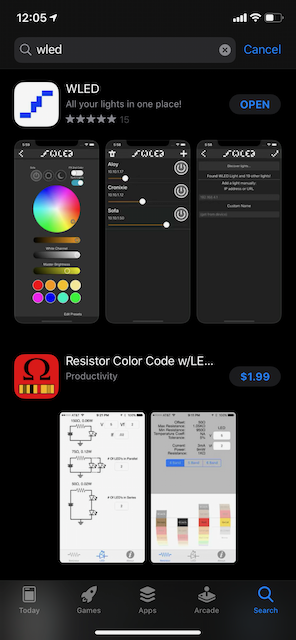
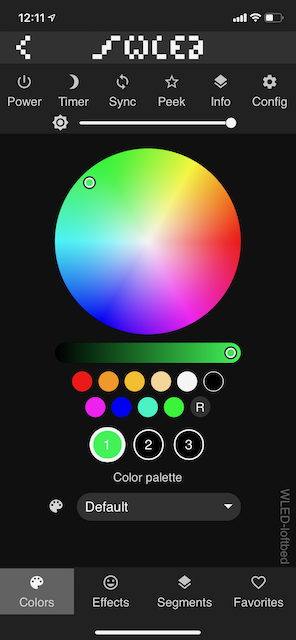
Once installed open it and click the plus button. I have never got the discover lights option to work but that may be a local network issue. So if that fails for you too just type in the IP of my WLED device and click the check at the top:
Now you should have a new light:
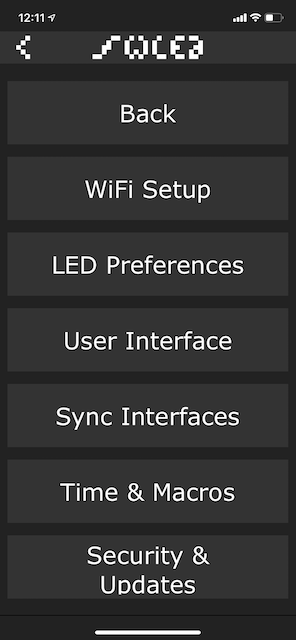
Click on the the name. Then click on config in the upper right.
And on the next screen choose LED Preferences.
On the LED Preference screen, is where you will fix the only 30 LED lights lighting up issue.
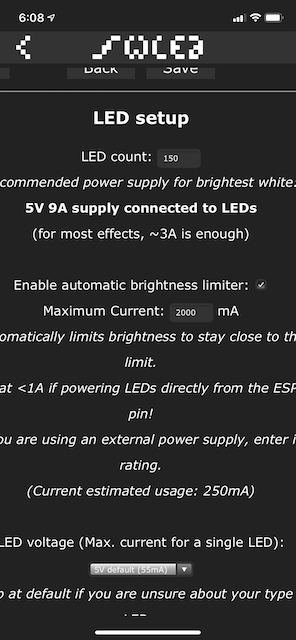
On that top line your configuration probably has LED Count = 30. Just update that to 150.
If you are using the Power Supply above you can also update the Maximum current to 2000 mA (if you have a > 2 Amp power supply) from 850. 850 is to be use if you are powering this from the NodeMCU board. Since we have power connected to the strip then we can use the higher Amps. However leaving it at 850 will work as well. The lights will just not be as bright. But in my tests everything worked fine. The power supply I linked to above is a 10 Amp power supply so theoretically you could set it to 5000 mA (5 Amps) without issue. I haven’t tested it with anything larger than that though.
You may also want to scroll down and and un check Turn LEDs on after power up/reset. This will prevent them from turning on if the power is lost to the strip and comes back on.
Now just click Save and boom your new strip will be lit!
Integrating with Home Assistant
Since I am a Home Assistant fanboy, let’s talk about getting these into Home Assistant. Once you open Home Assistant you already have a notification that a new integration was found. If so, follow the prompts to add it. If your network is like mine though it will fail. I suspect this is to do with the mDNS issue I evidently have. No worries though we will just do it the manual way…which is automated via the new integration flow.
Go to Configuration -> Integrations, then click the plus sign in the lower right.
Search for WLED or if you prefer using the mouse you can scroll down to the bottom.
Click WLED and you will get:
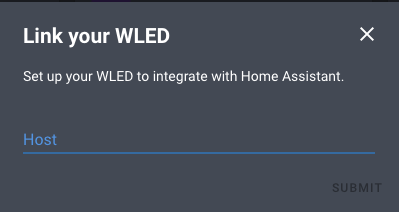
Enter the IP address (I suspect the mDNS name should work here too if you have are lucky) and hit submit.
BOOM. Thats it. Under Configuration -> Devices you should now have a WLED device that you can add to Lovelace.
Final Thoughts
I am super happy with how easy this whole process was and I will be adding more WLED lights soon.
The total cost for this project was about $46 for 196 inches of LED Light strip goodness. If you wanted to go with the Hue Light strip you are talking about $80 for 80 inches. So going the WLED route can save you some money.
If you have made it this far, you have already spent more time walking through this process than it will actually take. Once I had the supplies and sat down to set this up it literally took less than 5 mins to have this thing flashed, wired up, and working. Mounting the strip in its place took the longest time.
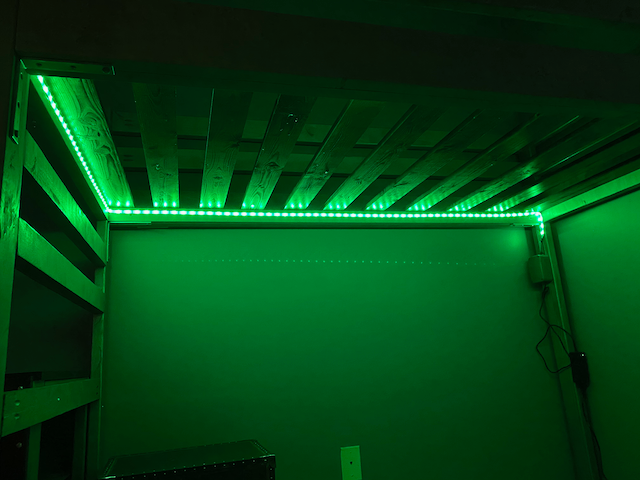
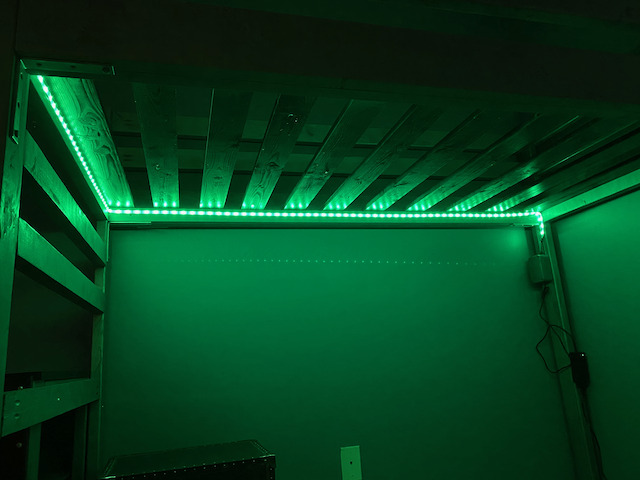
And while we are talking about that mounting these it can be a pain. The Alitove Waterproof LEDs strip is pretty heavy so the adhesive back didn’t hold it up well under the loft bed I was mounting them to. I will have to add some clips which isn’t that big of a deal.
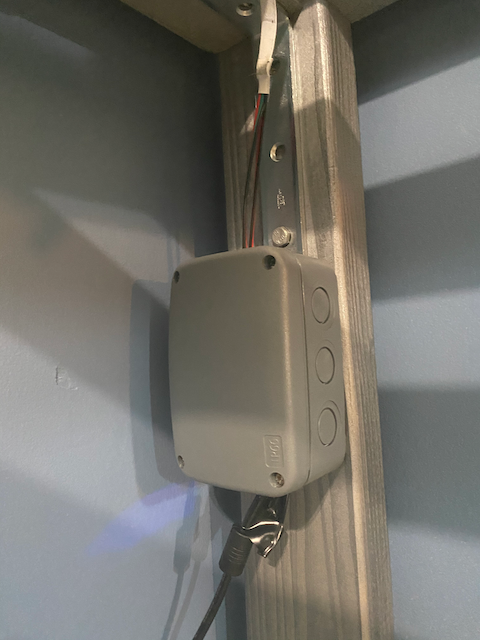
I stuffed the electronics in my waterproof box and mounted it to the underside of the bed.
I did have some flaky communication issues at the beginning. Device would report it was offline and once in a while and the web portal never loaded, although the phone app worked. This board is using 2.4 ghz which means you may need to adjust your wireless coverage to ensure these modules have a good signal given the volume of traffic using 2.4 ghz and the travel of the signal through certain walls. Once I redid my wireless coverage everything has been rock solid.
Next up is adding voice control via Alexa, and automation to handle the lights for events and of course to come on in cases of emergency. If you are looking at adding LED strips think about going with WLED. You won’t be sorry.
Until next time…Go Automate Something.